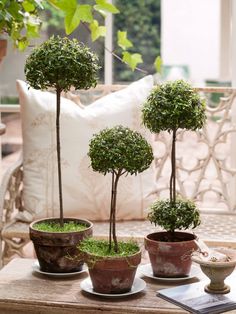
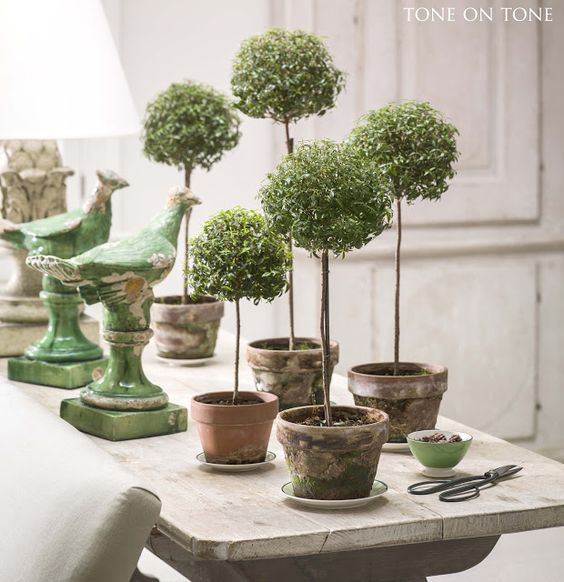
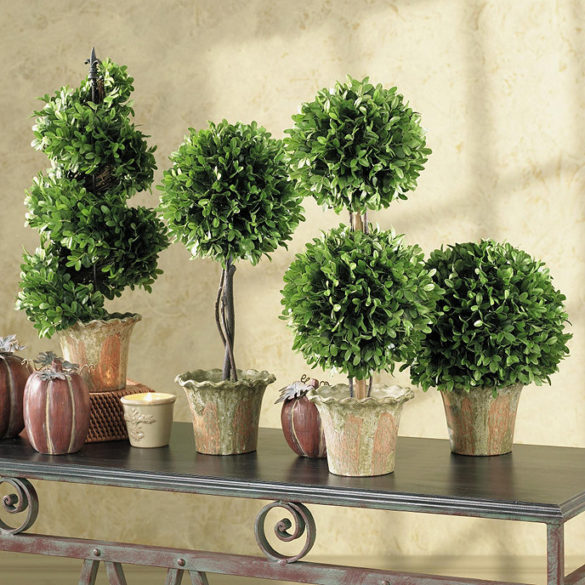
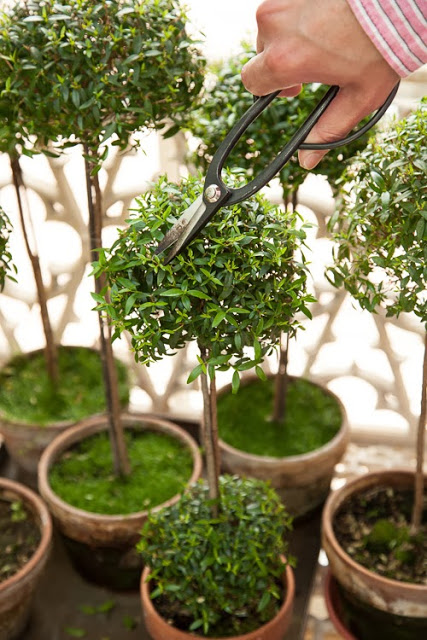
Lately I have felt the need for more green in my apartment. I live in manhattan where the space is quite limited and with central heating , air conditioning and little time, it’s important to think of something that is resistant that doesn’t take much space and at the same time looks appealing. I thought of indoor Boxwood topiaries but you can choose from fresh Rosemary, Myrtle, Ivy, Olive treeswith great photos from Lai Than and educate yourself with some of Rebecca’s lectures.
- string
- scissors
- clippers
- bamboo stakes
- boxwood plant (make sure it’s mostly growing vertically)
- soil, pot
- moss (optional)
Step 1: Start by inserting the boxwood plant into your pot and pack it with dirt.
Step 2: Clip off the branches from the base of the trunk. Decide how much top bush you’d like and cut to there.
Step 3: Insert a bamboo stake into the pot (don’t worry about hurting the roots like I was). This will help the tree to grow straight.
Step 4: Tie a knot around the skewer and trunk with the string at the base. I wrapped around it twice and then knotted it on the stake side, NOT the trunk side. You could hurt the plant if you knot it on the plant side. Tie it pretty tightly to keep it secure.
Step 5: Tie another knot higher up.
Step 6: If the stake is taller than the plant, cut it down to the middle to lower section of the bush.
Step 7: Now start pruning the bush. This might be the scary part to you, but don’t worry, when you make a cut, two will grow in its place so the more you prune, the fuller it gets!
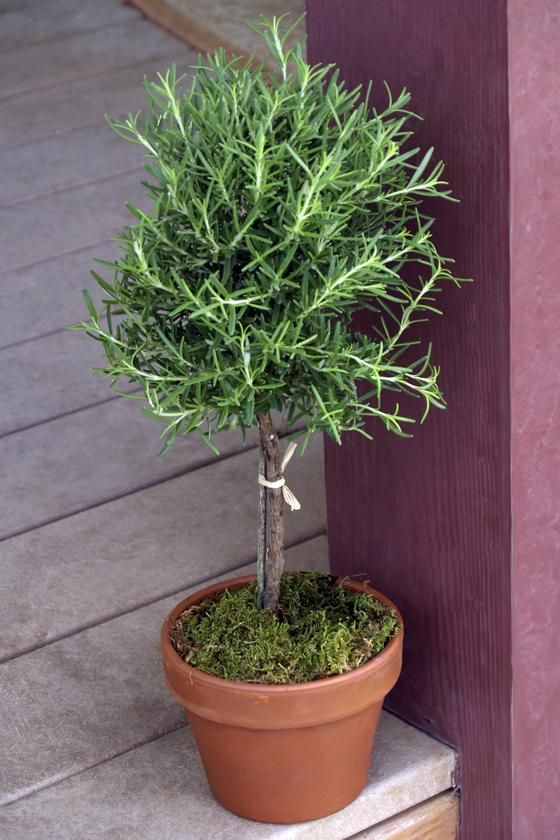
Step 8: Add some moss to the base if you’d like.
Source: The house that Lars Built
Image of Topiaries: The Anatomy of Design


